
Getting Started: How to Set Up XOGO.
Display images, videos and URL-based content on any screen with XOGO. Just follow the instructions below to get started.
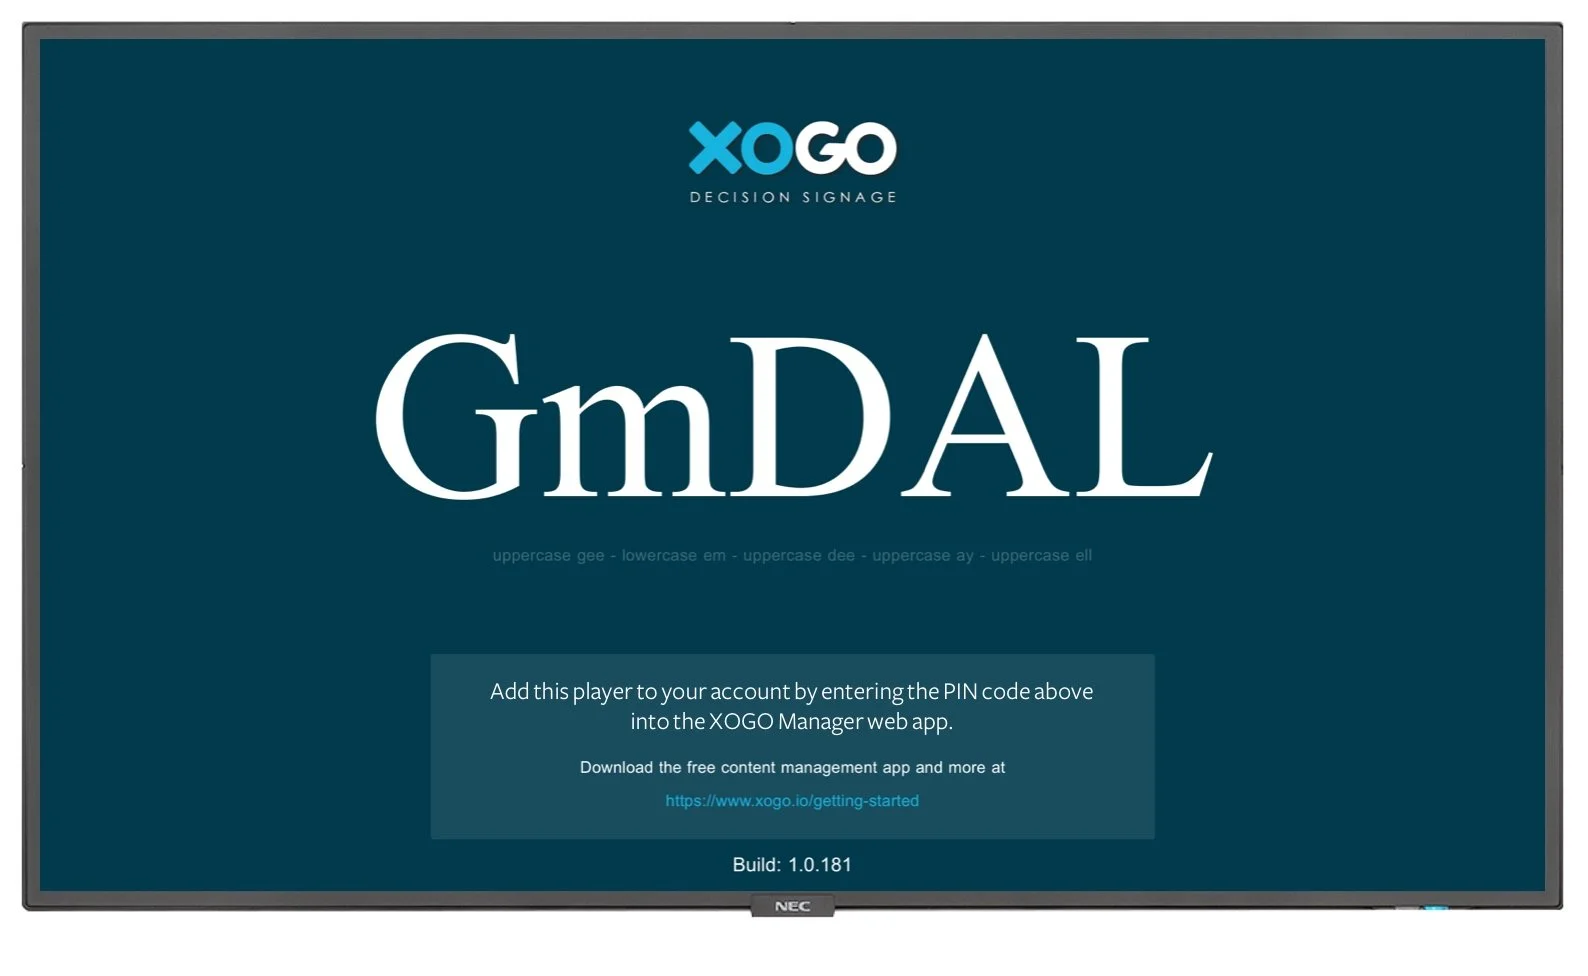
XOGO Mini Max: If you have a XOGO Mini Max then XOGO Player is already installed. Just plug in your Mini Max and connect it to an open HDMI input on your TV. Then connect your Mini Max to the Internet by plugging in an ethernet cable, or use the included remote control to connect it to WiFi. You will see our logo and a PIN code like the one above.
Other Devices: XOGO Player is available for free on many operating systems. Simply download XOGO Player on the device that you want to use as a media player. Then connect your device to the Internet and open the XOGO Player app. You will see our logo and a PIN code like the one above.
Step 1: Prepare Your XOGO Player
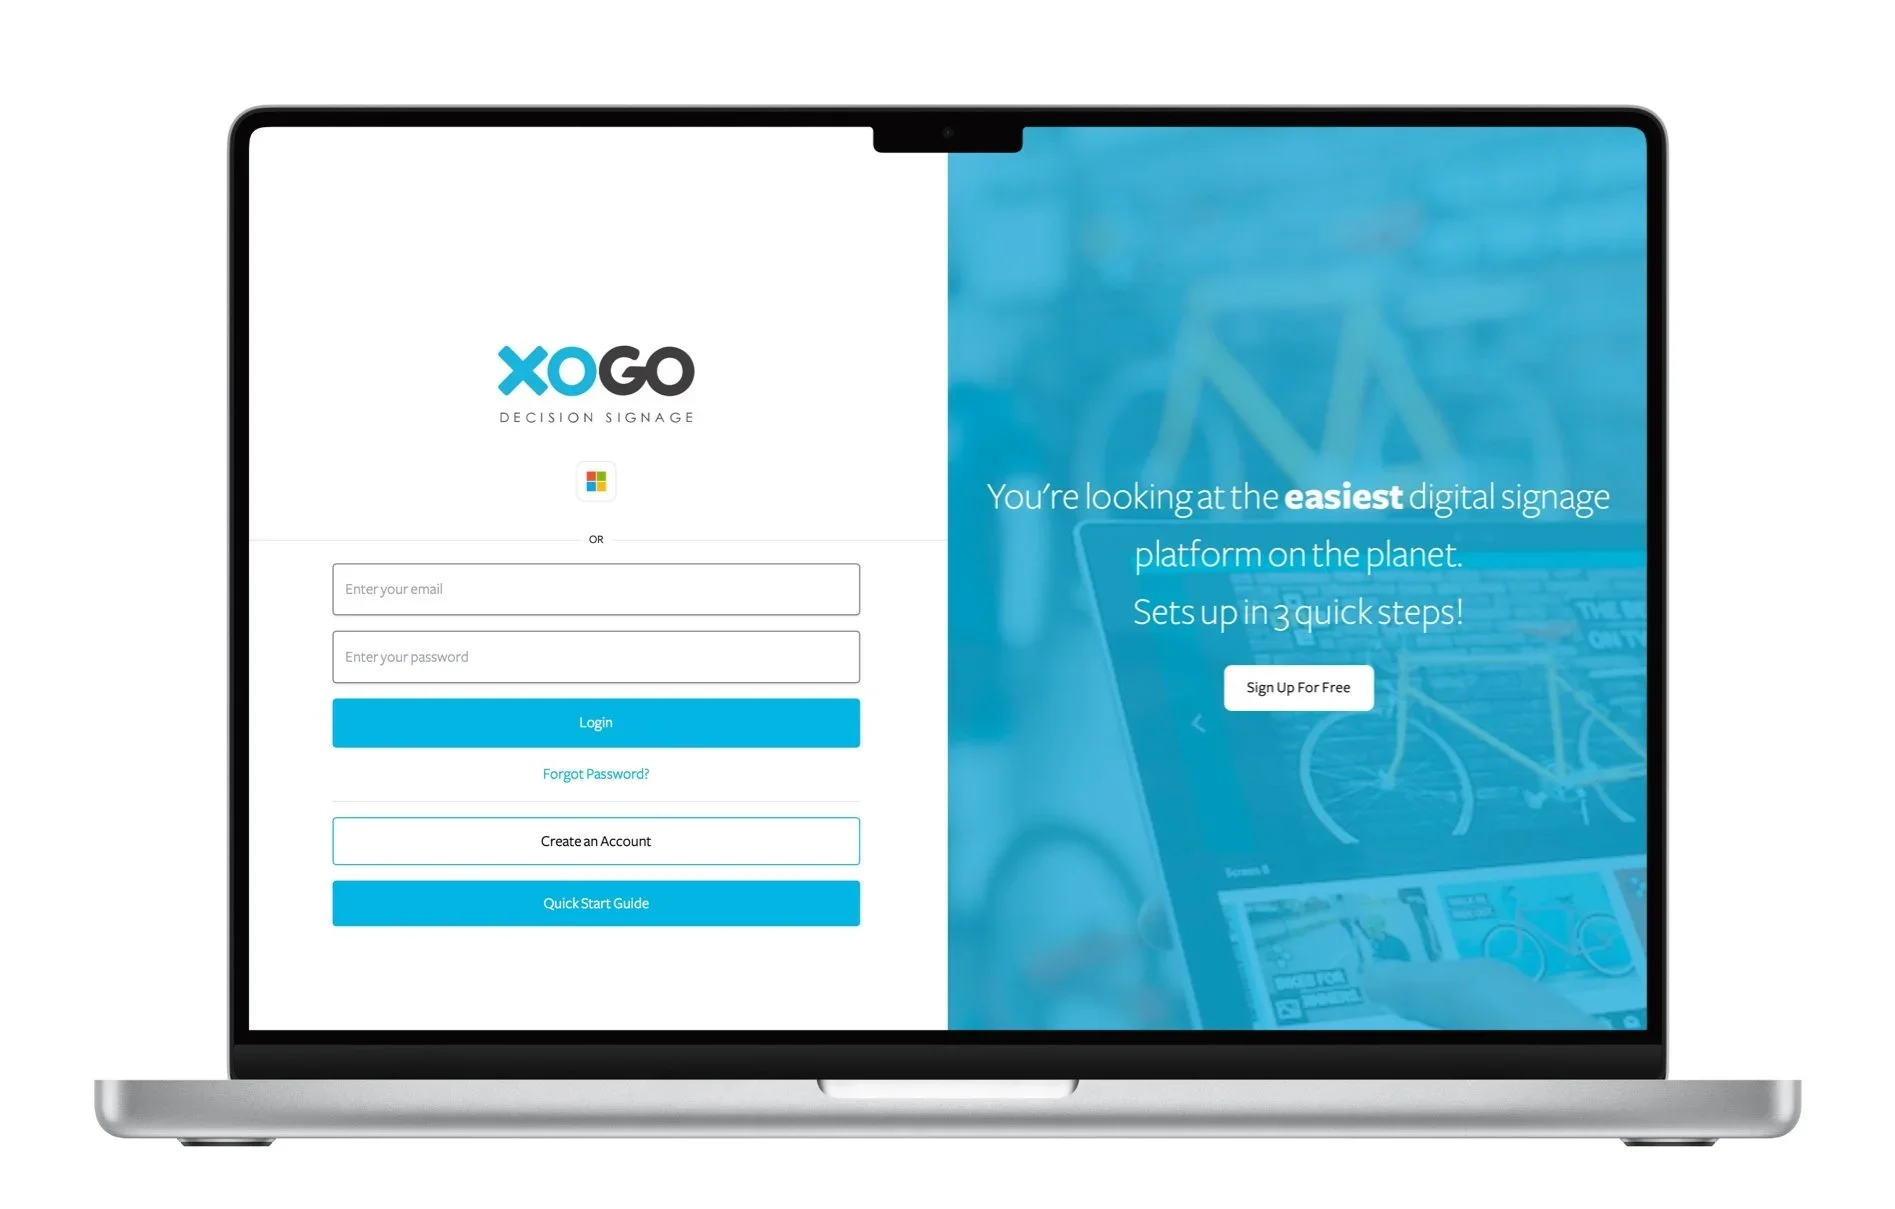
Step 2: Set Up Your XOGO Account
Now open XOGO Manager on your computer, tablet or phone. Create a free XOGO account if you don’t have one yet. You can later upgrade your account right inside the app, to take advantage of pro features.

Step 3: Upload Your Content
Inside the app click +Add New to upload your content into the library section. XOGO plays back PNG and JPEG graphics, MOV and MP4 videos, URLs and content widgets. Not a designer? Check out our content partners for access to beautiful templates and infotainment feeds that play perfectly in XOGO.

Step 4: Create a Playlist
Tap +Add New and then select Playlist. Select the items from the media library that you would like to include in your playlist. You can adjust the duration that each item is on screen before it rotates to the next, or drag and drop to rearrange the playback order. Click Schedule if you’d like to select specific days/times when a given media item will or will not play.

Step 4a: Schedule Your Playlist
This one is optional, but it you click the “Schedule” button within your playlist, you have the option of scheduling the precise days and times when any given item in your playlist is allowed to display. If you were a restaurant, for example, you could use the scheduling tool to ensure that your breakfast menu is showing until noon, when your lunch menu takes over. When you have one day set up perfectly, it’s easy to copy/paste that to other days of the week. By default all items in a playlist will be in rotation all of the time.

Click +Add New and select Player in order to add a media player to your account. Enter the player’s PIN code from step 1, then give the player a name, select which playlist you want it to play, and click save. You will immediately see a spinning blue circle on your player as it downloads the playlist from the cloud. Your content will begin playing moments later.
Step 5: Add Your Player


Bonus: Realtime Mode
XOGO Manager is more than just a content uploading tool - it's a real time remote control! Just select RealTime in the player view and (provided that your media player is connected to the Internet) you can trigger any content on the media player in real time. Right from your PC, phone or tablet!
Because you can set items to be invisible within a playlist, you can even have your normal media content looping full-time, and then interrupt it with Realtime Mode to show additional content that’s hiding on the media player. This is a perfect scenario for retail, for example, where a salesperson can interrupt a looping "attract" video in order to pull up tech specs, pricing or additional product information on the big screen. Check out this video for more information about Realtime Mode and how to set it up.

Free Technical Support
Thanks for choosing XOGO Decision Signage. If you need assistance with your new digital signage software, please take a look at our FAQs, check out our tutorial videos, or contact our technical support team. We’re standing by to help.